Introduction
WebEngage is a multi-channel marketing automation tool that helps you focus on your product by it taking all the headache of marketing related changes.
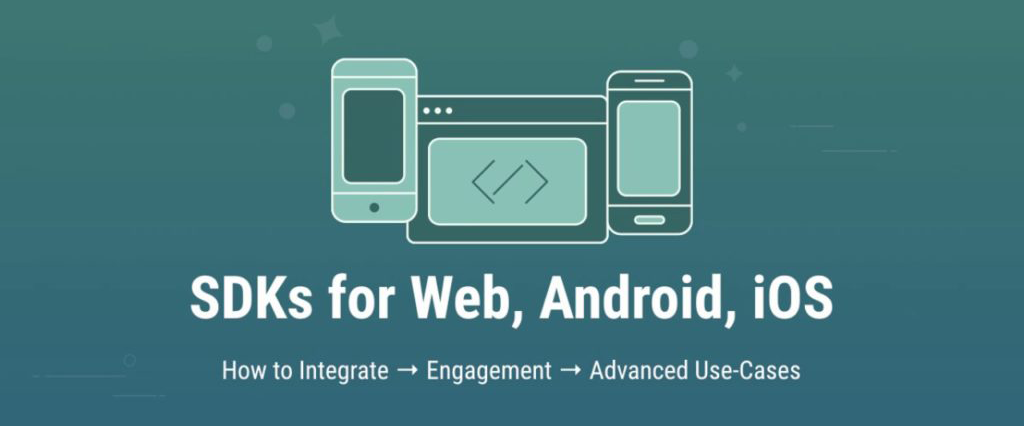
It provide SDKs that integrate with your website, Android or iOS application. These SDKs drive the On-site / In-App / Push engagements that one manages through our dashboard.
They also expose APIs to track events and build user profiles. There are other APIs and a callback interface to customize look and behavior of individual engagements such as notifications, survey and feedback widget beyond what is provided on our dashboard.
WebEngage In simple terms:
- It is communication plan which adopts to user behaviour.
- It use to display one kind of advertisements on user activity/screen
- We can use this feature with web, android, ios.
Generally it send the advertise in form of push notification, in-app messaging and in up coming feature in email.
NOTE : we do not have to create any layout from android side to display the advertise. We just have to set sdk and it’s methods in order to do so.
Here we go,
Each and every product which let’s you use it’s feature in android contains the sdk.
#1 Implement sdk to your android studio:
compile 'com.webengage:android-sdk:2.+'
#2 Add some metadata information in manifest from this link.
#3 Add callback functions of webEngage sdk in order to get notification or in -app.
#4 Every android app should have application class which kind of handling the whole app; So add callback in application class’s oncreate methods like this.
public class MyApplication extends Application {
    @Override public void onCreate() {
        super.onCreate();
        registerActivityLifecycleCallbacks(new WebEngageActivityLifeCycleCallbacks(this));
        //In-app notification
        WebEngage.registerInAppNotificationCallback(new InAppNotificationCallback());
    }
}
#5 Now go to class or activity where you want to add this in-app messaging or ad.
In that activity set analytics to on start method.
@Overide
protected void onStart() {
    super.onStart();
    Analytics analytics = WebEngage.get().analytics();
    analytics.screenNavigated("PurchaseScreen");
}
Here “Purchase Screen” is name of your activity or screen.
Make sure you give exact name of your screen as you provided in the code[application].
#6 You can also send data of screen to the webengage like this.
#7 You need to implement the callback of inApp application data in Your Application class. As described here
Note: when i use this i was not able to import the InAppNotificationCallback from the webengage sdk; So that i used InAppNotificationCallbacksImpl which do the same.
You need to add InAppNotificationCallbacksImpl in order to use it’s override methods. The reference would be here.
#8 We done here. Just run your app.
#9 Other necessary settings will be done a server side of webengage or say ion dashboard of webengage. If every thing from dashboard side run well then ad will automatically display on android.
#10 At last it will look something like this:
NOTE: For dashboard setting: in order to integrate sdk to project. They need to add gcm key and package name of your project. Here gcm key is your project’s google cloud messaging key which will get from your gcm or firebase account [in firebase account it will be named as server key which start with AZIa…… under the cloud messaging tab of your project setting.]

Refrence link :
http://docs.webengage.com/docs/integrationv2#section-add-webengage-dependencies
Comments are closed.